If you haven't seen the FIRST PART, CLICK HERE TO SEE IT!
Let's go on...
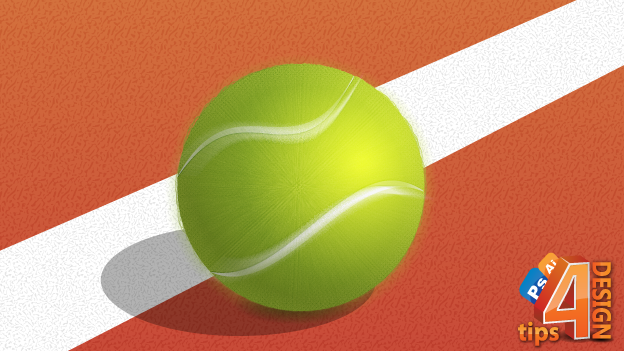
9. In this step we will add some fiber on the ball's margins. We will do this using the Scribble effect (Effect->Stylize->Scribble).
First, make a new copy of the layer with the circle having green gradient on it, put the newly created layer behind the old one and apply a scribble effect (I used this values).
10. After that we'll draw the white line behind the ball. Use the pen tool to draw it (make sure you make the top-right part a little smaller to simulate the field perspective). Also, copy this shape layer and apply some sandy pattern. This is what I've got:
11. In the steps to come we'll take care of the shadowing part. First create a small shadow right under the ball. I use the same shadowing tehnique as I used in the Balloons tutorial. but having the layer set on Normal mode.
12. We'll add a penumbra now (see THIS for details about penumbra). To do this, start with a circle than disort it using the Effect->3D->Rotate option.
13. Here comes the tricky part. Group the ball's shapes and duplicate them. On this copy of the group apply a radial blur (Effect->Photoshop->Blur->Radial Blur).
Also, decrease a little this group's opacity.
14. The final step is to correct the shadows casted on the ball. Make a new circle having the exact size as the ball(or copy a circle already made from the un-altered group). Simply apply a white->black radial gradient and put it on "Multiply", ~35% opacity.

If you want a tutorial for doing a certain object in illustrator just leave a comment.
Have Fun learning AI!


 Self-hosted analytics
very good blog, i learned some good tricks from you'r tutorials , i will recomand this blog to my friends!
ReplyDeletegood luck and keep posting more tutorials!
great tutorial
ReplyDelete