First, find yourself a nice picture to start with (I started with THIS and resized it).
I've chosen this photo because the last think that comes through your mind when you look at this photo is rain.
Let's get going.
1. We'll first darken and lower the photo contrast. Go to Image->Adjustments->Brightness/Contrast . I've used this values:
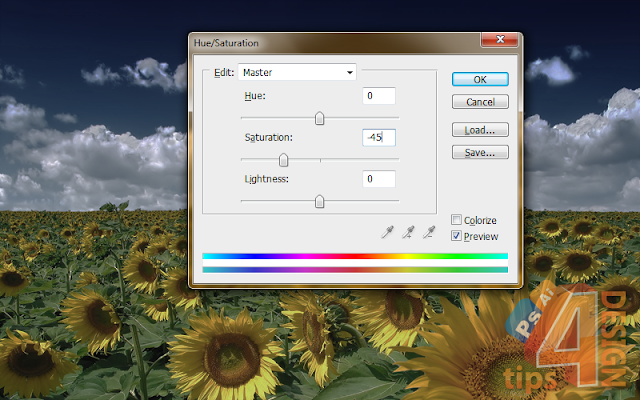
2. Our next step is to desaturate a bit the photo, to make this popping-out yellow less visible. Open the Hue/Saturation panel (CTRL+U) and change the saturation value to "-45".
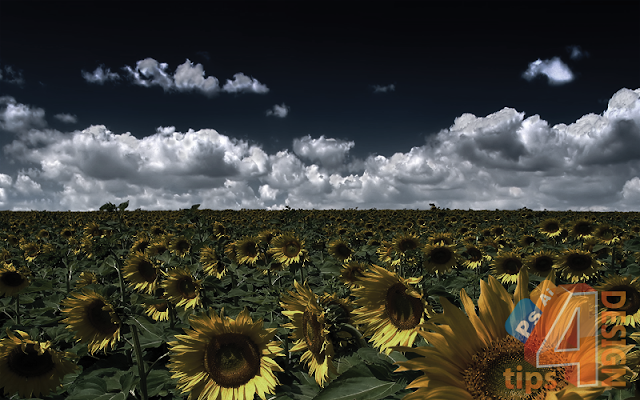
After applying the Saturation change duplicate this layer, completely desaturate it (CTRL+SHIFT+U) and set it's blending mode to Overlay.
It should look something like this:
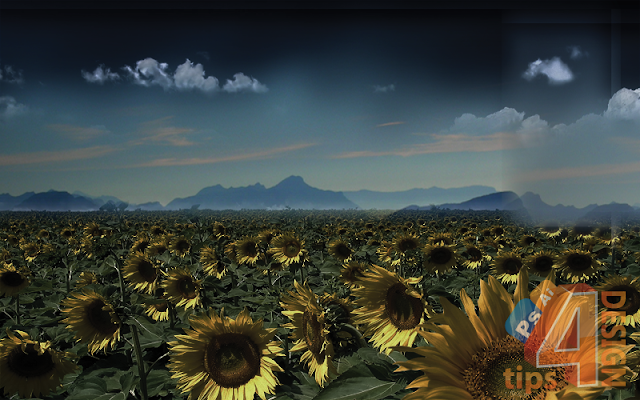
3. The clouds in the back really stand in our way of "making it rain". I've chosen the simple method of masking them by adding a stock with some mountains on top of them. (stock here). After placing the stock over your image scale it and erase all the unnecessary parts.
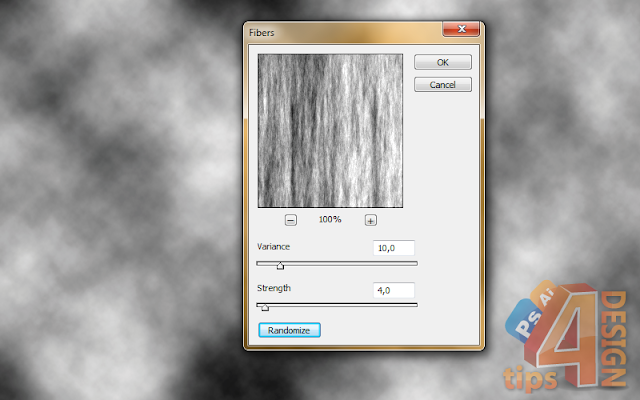
4. Create a new layer above the one with the picture. Apply Filter->Render->Clouds (make sure your foreground&background color are set to white&black, if not just press D ). Now go to Filter->Render->Fibers and use these values:
Set this layer blending mode to Overlay , and only 5% opacity.
5. It's time for some water-drops. Create a new layer , fill it (SHIFT+F5) with black. Now we'll use a pretty standard method in making rain drops: Filter->Noise->Add Noise :
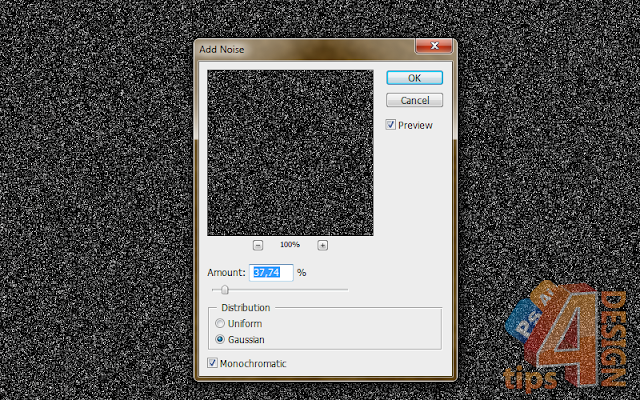
6. Apply Filter->Blur->Gaussian Blur to this layer.
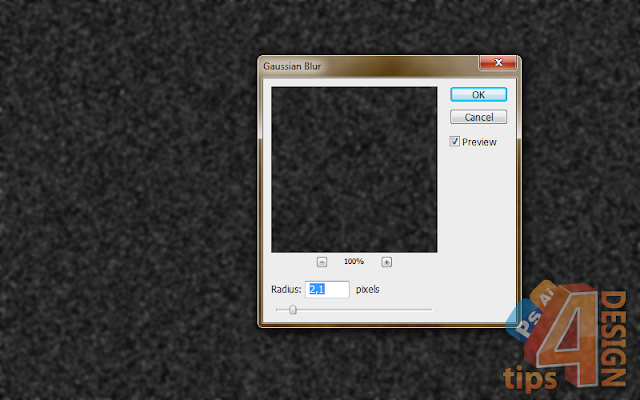
7. Image->Adjustments->Threshold ( I think you can achieve the same result using levels, but I'm using threshold).
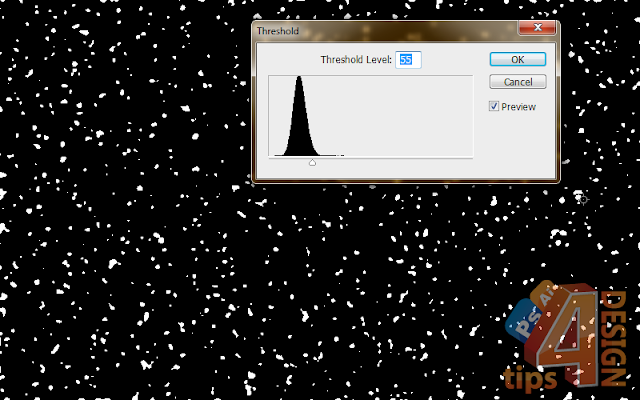
NOTE: This same technique is used for making snow.
8. Because the rain-drops are not stationary we must make them "move". We'll use Filter->Blur->Motion Blur.
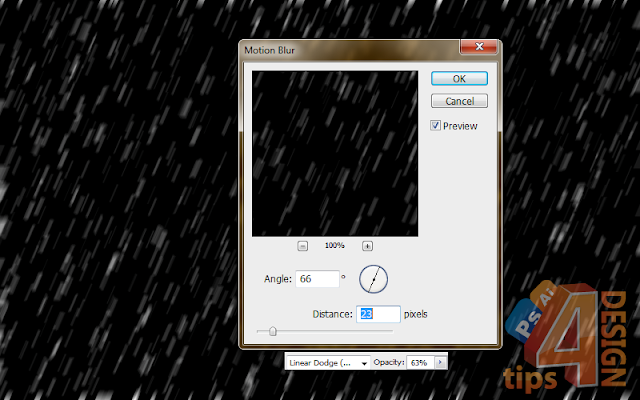
9. The last step in adding those rain drops is to change the blending mode to Linear Dodge(Add) and lower the opacity to about 60%.
For better results you can start again from STEP 5, using diffrent values to make some smaller rain-drops.
10. Because we've made the picture so dark we could try lighting it a bit. Create a new layer , Image->Apply Image and set this layer on Screen , Opacity: 60%.
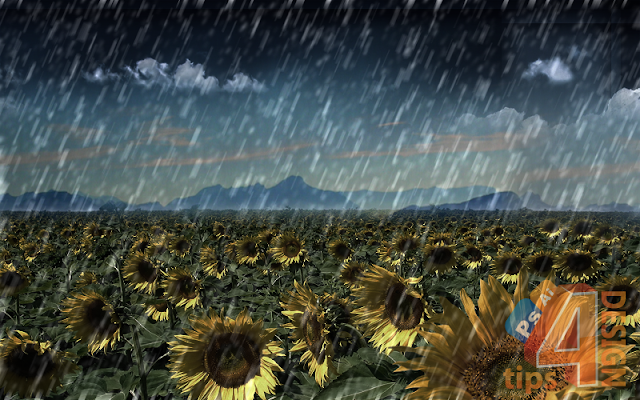
Ignore the small mistake in the top-right corner of the pic. It happens :D . Be carefull when erasing the layer in step 3 (at least be more carefull than me) .
If you want to see the tutorials as soon as they appear Follow this blog on google connect (there's a button in the sidebar).


 Self-hosted analytics
0 comentarii:
Post a Comment